Where Stone Meets Siding: How the Transition Should Be Flashed (and Why It Rots When It Isn’t)
Why This Transition Is a Problem Spot
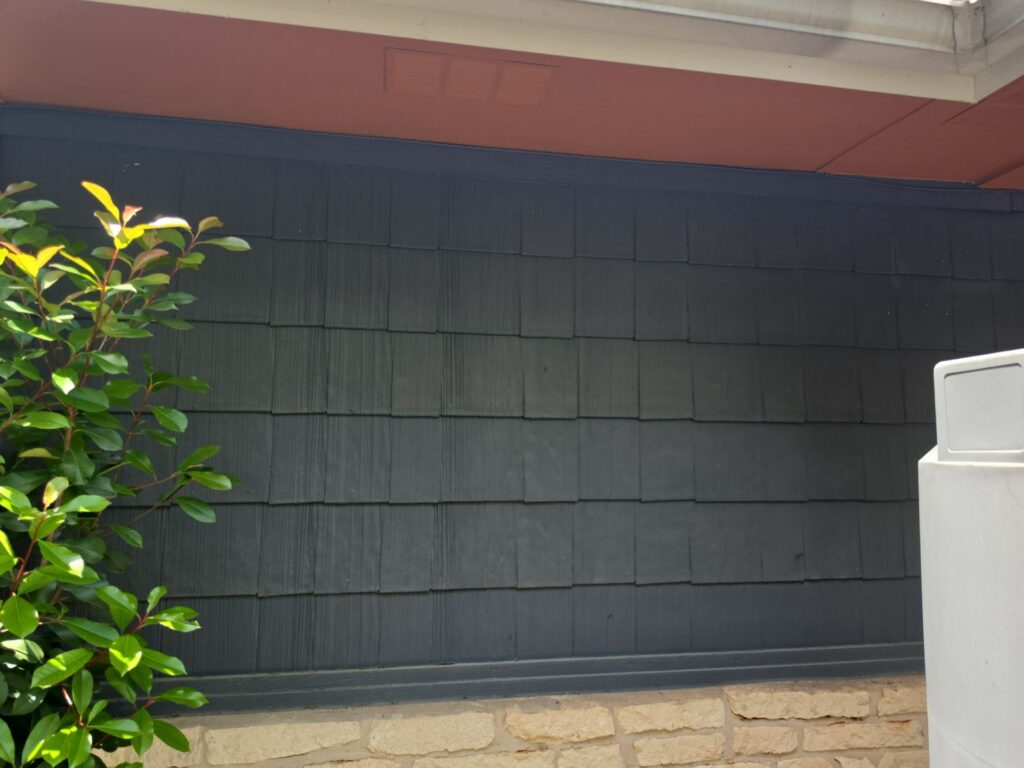
A limestone or stone wainscot under siding is one of the most common exterior designs in Austin and the Hill Country. It looks great, but it creates a detail that many walls do not have: a horizontal ledge where two very different materials meet.
Rain that hits the siding runs down the face of the wall and, during wind-driven storms, behind it. On a plain siding wall that water drains out at the bottom edge. Where stone sits below, it lands on top of the stone instead. If nothing directs it outward, it sits on the ledge, wicks into the cut bottom edge of the siding, and finds its way behind the stone and into the wall.
The same rule applies to any change of material on a wall, including stucco, brick, and siding meeting trim. It matters most at stone because the ledge is wide, flat, and usually long.
What a Correct Transition Looks Like
Manufacturer and industry details describe the same basic layers, from the bottom up:
- A flashing at the top of the stone. A metal flashing (Hardie's instructions show an L-flashing combined with a Z-flashing at mortar and masonry) sits on the transition and sheds water outward over the face of the stone. The Masonry Veneer Manufacturers Association's detail for siding above stone also calls for end dams where the flashing stops, so water cannot run off the ends and into the wall.
- The water-resistive barrier lapped over the flashing. The house wrap or building paper from the wall above has to come down over the flashing, not tuck behind it. The MVMA detail shows the barrier extended at least 6 inches above the flashing. A reversed lap sends water straight behind the flashing.
- A gap between the siding and the flashing. James Hardie's HZ10 instructions show a minimum 1/4 inch clearance above horizontal and masonry flashing, marked "do not caulk." That gap lets water drain and keeps the cut bottom edge of the siding out of standing water.
- A trim or starter detail that keeps the bottom course straight without closing that gap.
A common mistake is the opposite of the last two points: a bead of caulk run along the bottom of the siding where it meets the stone, to make the line look finished. It looks tidy, but it seals water in rather than out. For the other clearances Hardie requires, see our guide to siding clearance requirements.
The Stone Side: Weeps and Base Flashing
The stone needs its own drainage, and how it works depends on how the stone was installed.
Full-thickness stone or brick (anchored veneer) stands off the wall with an air space behind it. Water that gets behind the stone is supposed to drain down that space to a flashing at the base and out through weep openings in the mortar. The 2021 International Residential Code calls for weepholes immediately above the flashing at no more than 33 inches apart, and the Brick Industry Association recommends open head-joint weeps no more than 24 inches apart. When weeps are missing or mortared shut, water that gets behind the stone has nowhere to go.
Thin adhered stone (manufactured or natural thin veneer) is bonded to the wall over a drainage layer and needs a weep screed at the bottom. The MVMA guide calls for that screed to sit at least 4 inches above soil and 2 inches above paving.
So a stone-to-siding transition can fail from either direction: water entering from the siding above, or water trapped in the stone below.
Signs the Transition Is Failing
- The bottom course of siding just above the stone is swollen, flaking, or soft when pressed.
- Paint on the bottom edge is peeling or blistering while the rest of the wall looks fine.
- Dark staining or efflorescence (white mineral deposits) on the top courses of stone.
- A continuous bead of caulk along the bottom of the siding where it meets the stone.
- No visible metal flashing at the transition at all.
- Inside the house, stains or musty smells at the base of walls behind the stone, or baseboards pulling away.
- No weep openings visible in the mortar joints along the bottom of full-thickness stone.
Rot behind siding is slow. By the time the outside looks bad, the sheathing behind it has often been wet for a long time. This is the same pattern we describe for missing kickout flashing, where a small missing piece of metal causes damage out of proportion to its size.
How to Check Your Own Wall
You can do a first check from the ground:
- Walk the house and look at the line where siding meets stone. Can you see a metal flashing lip sticking out over the stone?
- Look for a small shadow line (the gap) between the siding and that flashing. A solid caulk line instead of a gap is a warning sign.
- Press gently on the bottom course of siding at a few spots, especially under windows, below roof-to-wall intersections, and on the side that takes the most rain.
- On full-thickness stone, look along the bottom courses for weep openings.
- Note where downspouts, sprinklers or a patio slab put extra water near the transition.
None of this requires removing anything. If you find soft spots or no flashing, a closer inspection is worth it before the next storm season.
What the Repair Involves
The repair depends on how far the water has traveled:
- Flashing missing, no rot yet: the bottom course or two of siding comes off, flashing and end dams are installed with the barrier lapped correctly over them, and the siding goes back with the proper gap. This is a contained repair.
- Rot in the siding only: the damaged boards are replaced along with the flashing correction.
- Rot in the sheathing or framing: the wall is opened, damaged wood is replaced, and the drainage layers are rebuilt before new siding goes on.
- Stone-side problems: clogged or missing weeps, or a stone top course pitched toward the wall, may need masonry work as well.
Re-caulking the joint is not a repair. It hides the symptom and keeps trapping water. If your siding needs work at a stone transition, our siding repair and installation team can inspect the wall, show you photos of what is behind the bottom course, and tell you whether it is a flashing fix or a bigger repair. Related reading: common James Hardie installation mistakes.
Sources: James Hardie HardiePlank Lap Siding installation instructions (HZ10, effective December 2019); Masonry Veneer Manufacturers Association, Installation Guide for Adhered Manufactured Stone Veneer, 5th ed. (2018); 2021 International Residential Code R703.8.6 and R703.12; Brick Industry Association Technical Note 28 (2012). Always confirm against the current version of the manufacturer's instructions for your product.
Frequently Asked Questions
Should siding be caulked where it meets stone?
No. James Hardie’s instructions show a gap of at least 1/4 inch above masonry and horizontal flashing and mark it "do not caulk." Caulking the joint traps water against the bottom edge of the siding.
How much gap should there be between siding and a stone ledge?
Hardie’s HZ10 instructions call for at least 1/4 inch between the bottom of the siding and the flashing at a masonry transition. The flashing itself, not the gap, is what keeps water out of the wall.
Does the stone need weep holes?
Full-thickness stone and brick veneer need weeps at the base flashing so water behind the stone can drain out. The 2021 IRC sets a maximum spacing of 33 inches; the Brick Industry Association recommends 24 inches for open head joints. Thin adhered stone uses a weep screed instead.
Is rot at the stone line covered by insurance?
Long-term water damage from a construction detail is usually treated as a maintenance or defect issue rather than sudden damage, but coverage depends on your policy. Ask your insurer, and get the wall documented with photos before repairs.
Can this be fixed without replacing all the siding?
Usually. When the problem is caught early, only the bottom course or two needs to come off so flashing can be installed correctly. Wider rot means more boards and possibly sheathing.

Author: Driftwood Builders Roofing
Driftwood Builders Roofing is a family-owned residential roofing company headquartered in Manchaca, Texas, serving Austin and the surrounding Hill Country since 2005. The company has delivered 3,700 full roof replacements and 783 repairs across 3,559 different customers over 20 years in business, with 97 years of combined construction experience across the leadership team and 74 years specifically inside Driftwood Builders. The company holds the highest contractor certifications offered by the major shingle manufacturers, including GAF Master Elite Contractor (the top 3% of GAF contractors nationally), GAF Certified Green Roofer, Owens Corning certified, TAMKO Pro Certified Contractor, and a Berridge Roof Installation Seminar Certificate for standing-seam metal roofs. Driftwood is an NRCA member, holds an Angie's List Super Service Award, is BBB Accredited, and is a GuildQuality member for verified customer satisfaction data. James Hardie certification covers the siding side of the business. Services include residential roof replacement, leak and storm-damage repair, tile roof repair, metal roofing, TPO commercial roofing, roof inspections, hail and storm damage inspections with insurance claim assistance, gutter work, and James Hardie siding. The customer-protection policy is straightforward: Only Pay Upon Completion. The company serves 22 cities across the Hill Country and Greater Austin and holds a 5-star rating across Google, GuildQuality, Angi, Nextdoor, Facebook, Thumbtack, and Yelp.
